


Categories
Blog
Comparative Review: Best Carpet Cleaner Solutions on the Market
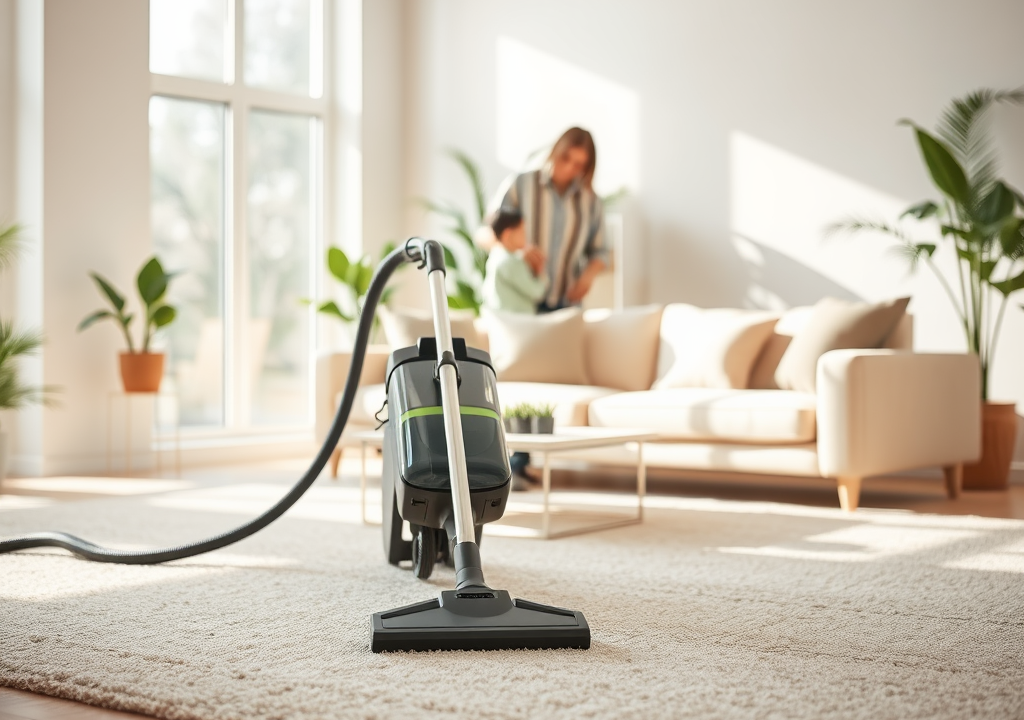
Imagine stepping into your home after a long day, only to be embraced by the warm comfort of clean carpets. They not only create an inviting atmosphere but also significantly influence the ambiance of your space. With the variety of options available for carpet cleaning, it’s essential to…