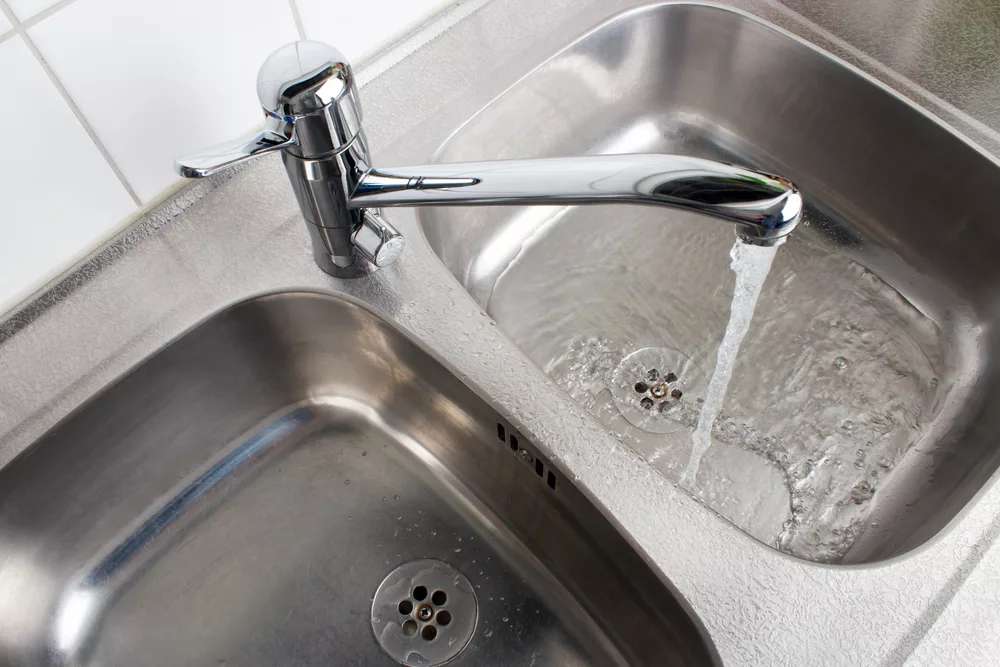
Cracks in your bathroom or kitchen sinks aren’t just eyesores; they can become gateways to more significant damage if neglected. Porcelain, ceramic, granite, or composite – no matter the material, fixing a damaged sink is a task that can often be handled without the need to call in a professional. This guide will cover the steps to efficiently repair smaller cracks and chips, ensuring your sink looks as good as new and functions without issues. With the right materials and a bit of patience, you’ll easily repair your cracked sink and prevent future leaks and structural damage.
Identifying the Type of Crack in Your Sink
Before getting started, it’s crucial to understand what type of crack you’re dealing with. Hairline cracks in a sink, often found in porcelain, could be superficial and not only easy to fix but also unlikely to cause larger problems. On the other hand, larger cracks or those that have led to leaks might need more than a simple DIY approach. Inspect your sink thoroughly, making sure that what seems to be small doesn’t run deeper or isn’t actually part of a bigger underlying issue that may require professional help.
Gathering the Necessary Tools and Materials
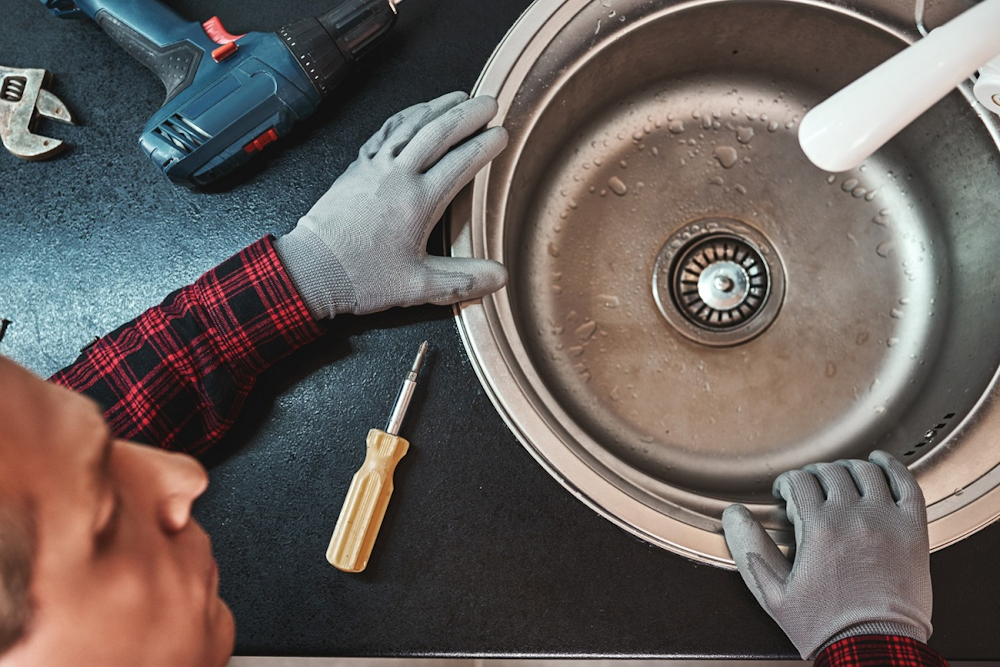
The next step is ensuring you have all the necessary tools and materials for the repair at hand. You will need a cleaning agent to prepare the damaged area, an appropriate filler – epoxy, porcelain filler, or another suitable compound – and tools like sandpaper for finishing touches. Safety equipment, such as gloves and eyewear, should also be on your list. Some repair kits come complete with everything needed, which could save you time and ensure you have the right materials for the material of your sink.
Preparing Your Sink for Repair
The key to a successful repair job is to start with a clean work area. Begin by thoroughly cleaning the sink, focusing on the crack and its surroundings. The sink will need to dry completely, so make sure to schedule your repair when the sink can be out of service for a bit. Then, protect the rest of the sink and nearby surfaces with tape or a cloth to avoid any accidental damage during the fixing process.
Step-by-Step Instructions to Fix Minor Cracks
- Cleaning the Damaged Area: Remove any debris or dirt from the crack using a clean cloth. Avoid using harsh chemicals that might damage porcelain or composite sinks. Dry the area completely.
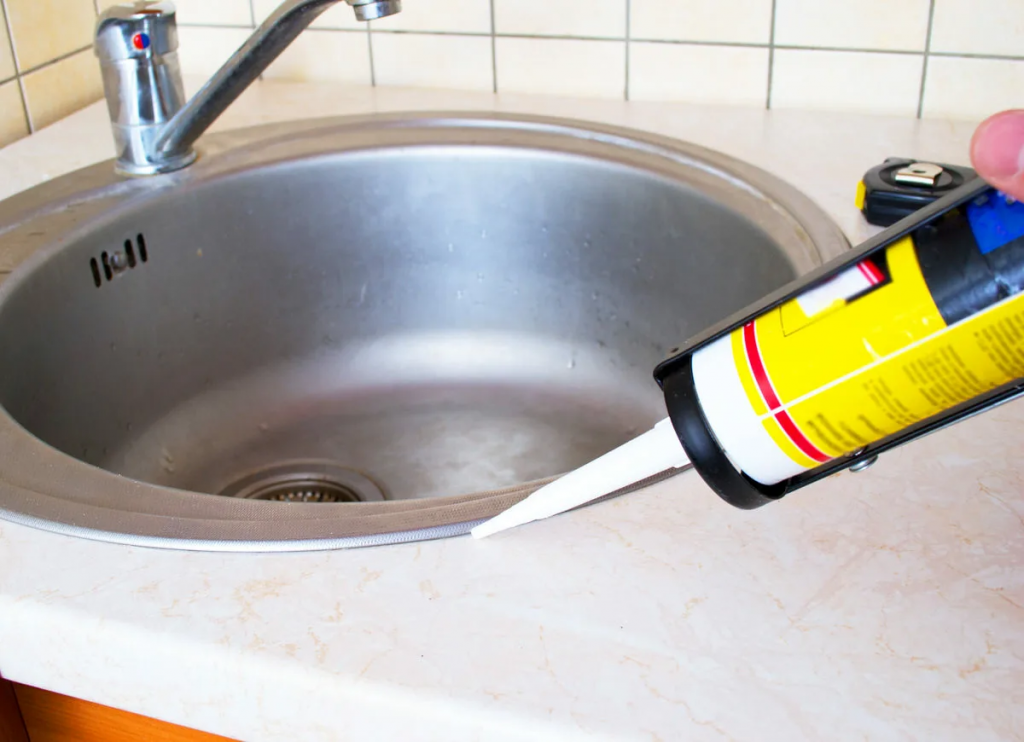
- Applying the Filler: Mix the filler according to the manufacturer’s instructions. Using a small tool, apply the filler into the crack, making sure it fills the gap completely. Remove any excess before it dries.
- Smoothing and Blending: Once the filler starts to harden, smooth the surface using sandpaper. This step will help the repaired area blend with the rest of the sink.
- Curing and Drying Time: Check the recommended curing and drying times on the repair material’s instructions. Most fillers will require at least 24 hours to cure completely.
Addressing Larger Cracks and Chips
When it comes to larger cracks that might have caused leaking, it’s often best to consider using more durable materials or consulting with a professional. However, if you’re set on attempting a repair, the process is generally similar to fixing smaller cracks. You might need to reinforce the area with mesh before applying an epoxy adhesive or a more substantial filling compound to ensure the repair is secure.
Finishing Touches and Preventive Measures
After the filler has cured, your repair job is almost done. The final steps involve sanding down the repaired area to create a smooth surface and then applying a sealant to ensure water resistance and longevity. To prevent future cracks, avoid pouring very hot or very cold water directly into the sink, which creates temperature stress. Also, prevent dropping heavy objects, which could lead to chips and deeper damage.
What Not to Do: Common Mistakes in Sink Repair
To ensure the best results in your repairing process, remember to avoid common mistakes such as rushing through the drying times or using materials not suited for your sink type. Additionally, don’t ignore the manufacturer’s instructions for the repair kits – these guides are there to help you achieve the most durable repair. Lastly, don’t neglect safety precautions; simple gloves and goggles can prevent unnecessary accidents.
Conclusion
In conclusion, repairing cracks in your bathroom or kitchen sink can be a straightforward task if done correctly. By thoroughly cleaning the area, choosing and applying the right filler, and taking the time to sand and seal the repaired area, your sink can look and function as good as new. Remember, the key is to address cracks early to prevent them from causing larger issues down the line. Following the steps outlined in this guide will ensure you can manage minor repairs yourself, saving you the cost and hassle of replacing your sink.
| Step | Action | Tools/Materials Needed |
|---|---|---|
| 1 | Clean the damaged area | Clean cloth, mild cleaning agent |
| 2 | Apply the filler | Epoxy/porcelain filler, applicator tool |
| 3 | Smooth the surface | Sandpaper |
| 4 | Allow curing time | None |
FAQs
1. Can all sink materials be repaired with the same methods and materials? No, different sink materials such as porcelain, ceramic, and stainless steel require specific repair methods and materials. Always check the compatibility of the repair kit with your sink’s material.
2. How long do I need to wait before using the sink after a repair? It varies depending on the filler material used, but it’s typically recommended to wait at least 24 hours for the material to fully cure and harden before using the sink.
3. Is it possible to repair a sink crack without any visible signs of the repair? With proper technique and color-matched filler, a repair can be made nearly invisible, but some faint signs of repair may still be present, depending on the extent of the damage.
4. What should I do if the crack in my sink continues to spread after repair? If a crack spreads after a repair, it may indicate an underlying issue with the sink or its installation. It’s best to consult a professional plumber or contractor to assess and address the problem.
5. Are DIY repair kits safe for all types of sinks, including kitchen and bathroom? Yes, there are DIY repair kits designed to be safe for both kitchen and bathroom sinks. However, ensure to choose a kit that’s appropriate for the sink’s specific use and material.